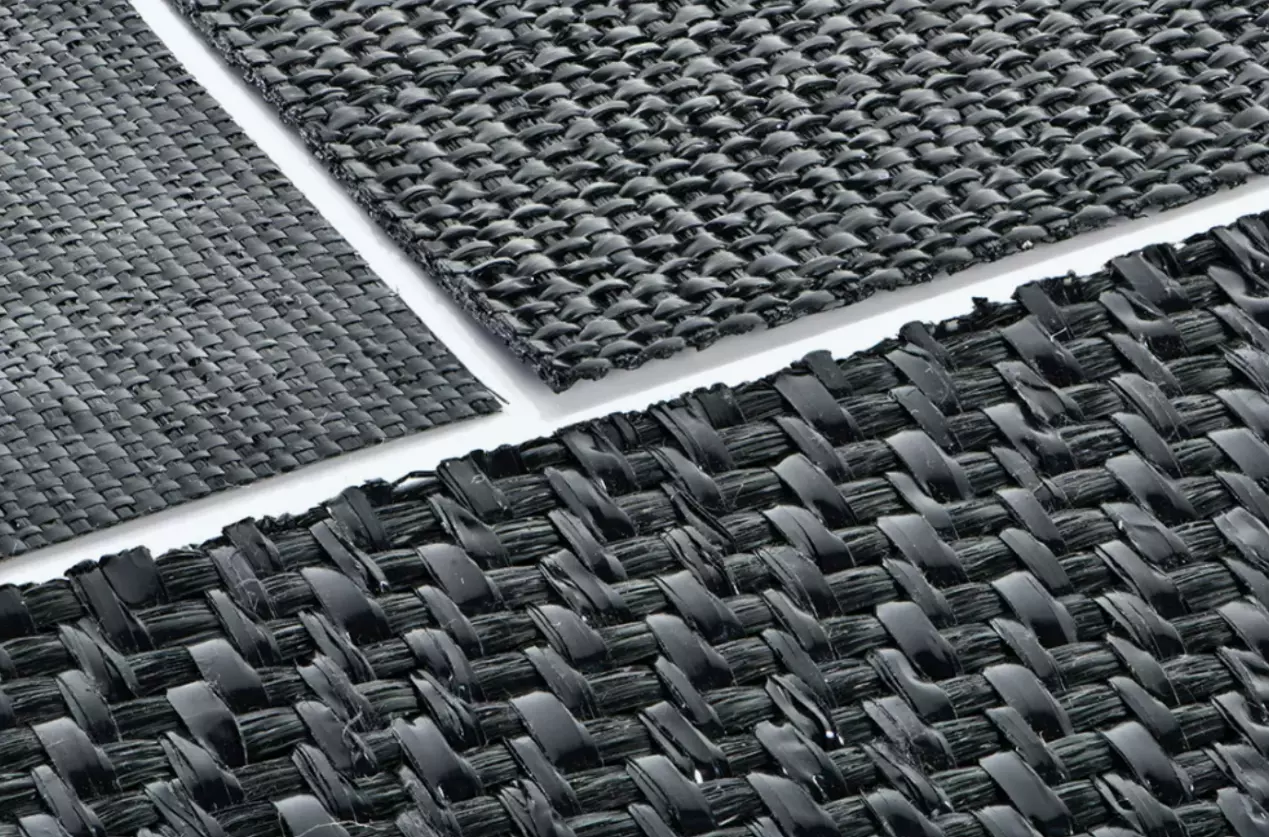
Navigating the use of woven geotextile fabric in your projects? This comprehensive guide walks you through each step, ensuring your project’s success with expert tips and insights.
Using woven geotextile involves site preparation, proper rolling out and orientation, overlapping and securing the fabric, and finally covering it with materials like soil or gravel for protection and stability.
Join us as we delve deeper into the practical steps and nuances of effectively using woven geotextile fabric, empowering you to maximize its benefits in your construction or landscaping project.
Preparing the Site for Woven Geotextile
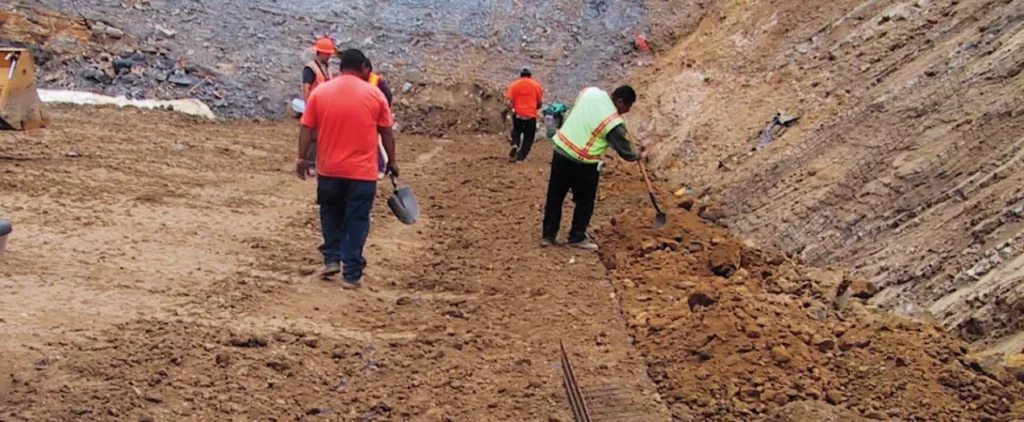
Proper site preparation is the first critical step when working with woven geotextile fabric. This foundational work sets the stage for the effective performance of the geotextile. Here’s a more detailed breakdown of what this entails:
Clearing the Area: Begin by thoroughly inspecting the site. Remove any sharp objects, debris, stones, or vegetation. This is crucial because sharp objects can puncture the geotextile, compromising its integrity and functionality. Pay special attention to roots and rocks that might not be immediately visible.
Leveling and Grading: Once cleared, the next step is to level the ground. This doesn’t necessarily mean the surface has to be perfectly flat; it should match the intended contour of the project. However, it should be smooth and free from large dips or bumps. Proper grading at this stage is essential, especially for projects involving drainage, as it directs water flow.
Compacting the Soil: After leveling, compact the soil to provide a stable base for the geotextile. This helps prevent settling or shifting after the fabric is laid down. The degree of compaction will depend on the project requirements – for some applications, a lightly compacted surface might be sufficient, while others may require a heavily compacted base.
Moisture Adjustment: In some cases, adjusting the moisture content of the soil can be beneficial before laying the geotextile. For instance, if the soil is too dry, lightly moistening it can aid in compaction and prevent dust during installation. Conversely, if the site is too wet, allowing it to dry to a workable level is advisable.
Barrier Installation (if necessary): In certain applications, a barrier layer underneath the geotextile may be necessary. This could be a layer of sand or a thin layer of gravel, especially in areas with very soft or unstable soils. This barrier layer can provide additional stability and help distribute loads evenly once the geotextile is in place.
By taking the time to properly prepare the site, you lay the groundwork (quite literally) for the successful use of woven geotextile fabric. This initial effort pays dividends in the longevity and effectiveness of the geotextile in your project.
Laying and Positioning the Geotextile
Laying and positioning the woven geotextile fabric is a critical step in ensuring its effectiveness. Proper execution of this phase can greatly influence the fabric’s performance and longevity. Here’s an expanded view of the process:
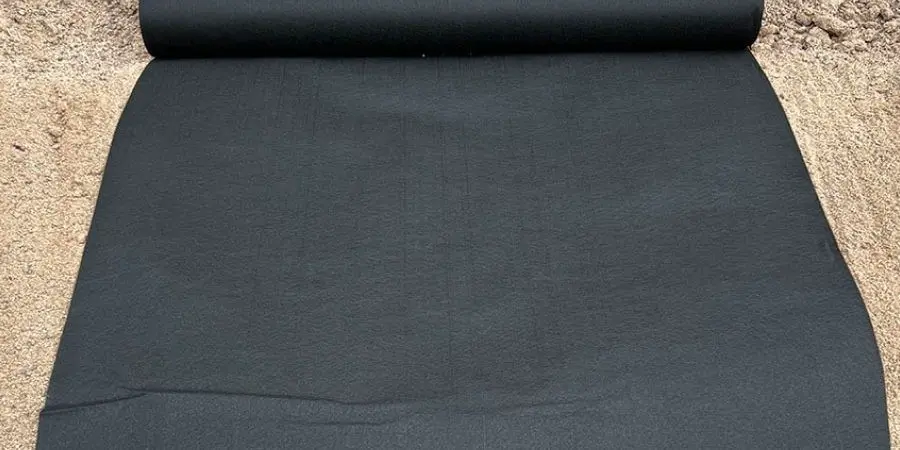
Rolling Out the Fabric: Begin by carefully unrolling the geotextile fabric across the prepared site. It’s important to handle the material gently to avoid any tearing or damage. If dealing with large areas, you may need multiple people or machinery to distribute the fabric evenly.
Correct Orientation: The orientation of the geotextile is crucial. Align the roll so that it is perpendicular to the direction of primary stress or traffic flow. This alignment is key to maximizing the strength and stability of the fabric under pressure.
Smooth and Flat Placement: As you unroll the geotextile, ensure it lays flat against the ground. Remove any wrinkles, folds, or air pockets as these can lead to uneven stress distribution and potential weak points. A flat and smooth installation is essential for uniform load distribution and effective separation and stabilization.
Overlap Sections: If your project requires more than one strip of geotextile, overlap the edges of each strip by the recommended amount, usually about 12 to 18 inches. This overlap ensures a continuous barrier and prevents soil or other materials from passing through gaps between the strips.
Cutting and Trimming: In some cases, you might need to cut the geotextile to fit the specific area. Use sharp, sturdy scissors or a cutting tool to make clean cuts. Avoid leaving frayed edges as they can lead to unraveling or weakening of the fabric.
Securing the Edges: Once the geotextile is laid out, it’s important to secure the edges to prevent movement or displacement. This can be done using soil or sandbags, stakes, or specialized geotextile pins, depending on the soil type and project needs.
Consider Environmental Factors: Be mindful of the weather conditions during installation. High winds can displace the fabric, so it might be necessary to secure one end or edge as you unroll the geotextile. Similarly, in very hot conditions, the fabric may become more pliable, which can be an advantage for conforming to the terrain but also requires careful handling to maintain its integrity.
By meticulously laying and positioning the woven geotextile fabric, you ensure that it performs its intended function effectively, whether it’s for separation, stabilization, filtration, or protection. This step, although seemingly straightforward, requires attention to detail to achieve the best results in your geotechnical projects.
Overlapping and Securing the Fabric
Ensuring the woven geotextile fabric is properly overlapped and secured is key to maintaining its functionality and effectiveness. Here’s an expanded guide on how to achieve this:
Determining Overlap Width: The standard overlap recommendation is at least 12 inches, but this may vary based on the project’s specific requirements. In areas subjected to high stress or water flow, a wider overlap may be necessary to ensure a continuous barrier against soil movement or water filtration.
Aligning the Seams: When overlapping the fabric, align the seams carefully to avoid any gaps or misalignments. This alignment is crucial for preventing soil, water, or other materials from seeping through the seams.
Securing the Overlap: Once overlapped, secure the seams using suitable materials. The choice of securing method—be it pins, staples, or fabric anchors—depends largely on the soil type and environmental conditions. For instance, in loose or sandy soils, longer and sturdier pins might be required for adequate anchoring.
Stapling or Stitching: In some scenarios, particularly in slopes or areas with significant water flow, stitching the overlaps or using industrial-grade staples can provide additional security. Ensure that the stitching or stapling is done at regular intervals to maintain uniform strength along the seam.
Edge Securing: Not only the overlaps but also the outer edges of the geotextile fabric need to be secured firmly to the ground. This can be done using a trenching method, where the edges are buried in a shallow trench and then backfilled, or by using U-shaped pins spaced at regular intervals.
Checking for Gaps: After securing, inspect the entire area for any gaps, loose ends, or potential weak points in the overlapping sections. It’s important to address these issues immediately to ensure the integrity of the installation.
Monitoring and Maintenance: Post-installation, it’s advisable to regularly check the secured areas, especially after heavy rainfall or wind, to ensure that the overlaps and edges remain intact. This ongoing monitoring is crucial for long-term effectiveness.
By paying close attention to the overlapping and securing processes, you can significantly enhance the performance and lifespan of the woven geotextile fabric in your project. Proper implementation of these steps is essential for ensuring that the geotextile functions as an effective barrier and stabilizer in various geotechnical applications.
Covering and Finalizing the Installation
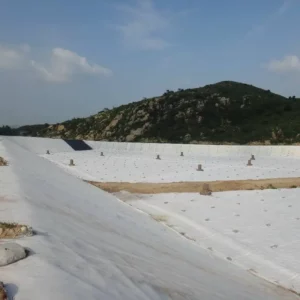
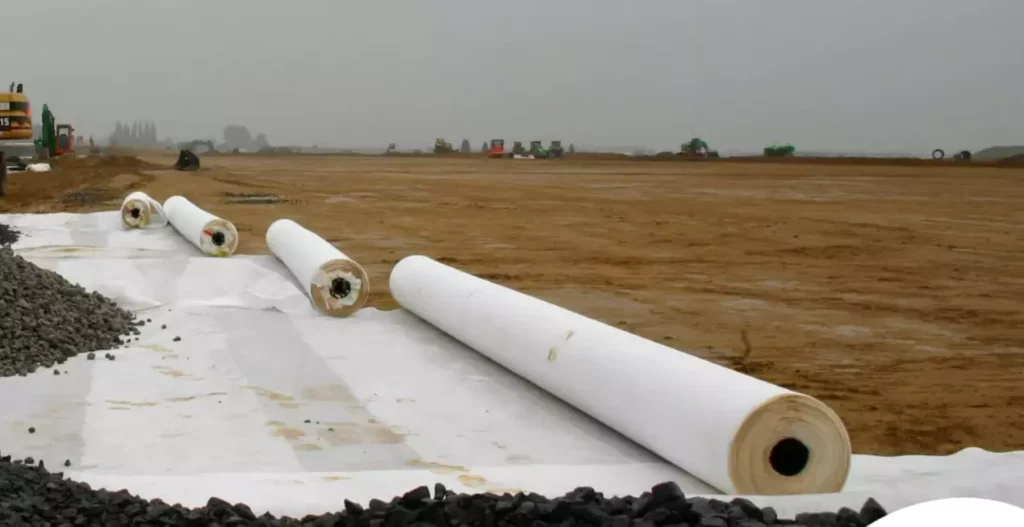
The final step in installing woven geotextile fabric involves covering it with a protective layer of material. This stage is as crucial as the preceding ones, as it ensures the geotextile’s protection and functionality throughout the project’s lifespan. Here’s an expanded guide on how to effectively cover and finalize the installation:
Choosing the Right Cover Material: The type of material used to cover the geotextile depends on the project’s nature and requirements. Common materials include soil, gravel, or sand. For erosion control projects, a layer of larger aggregate or riprap may be used. In landscaping projects, a combination of soil and organic material might be appropriate.
Determining Appropriate Thickness: The thickness of the cover layer is critical. It should be sufficient to protect the geotextile from damage during subsequent construction activities or from the pressure of overlying layers. Typically, a minimum of six inches is recommended, but this can vary depending on the project’s specifics.
Even Distribution: Apply the cover material evenly across the surface of the geotextile. Uneven distribution can lead to irregular pressure points and potential damage to the geotextile. Use machinery or tools that spread the material gently to avoid displacement or damage to the geotextile.
Compacting the Cover Material: Once the cover material is in place, compact it to ensure stability and prevent shifting. This is particularly important in construction projects where the stability of the overlying layers is critical. The method of compaction will vary depending on the type of material used.
Protecting Against Erosion: In some cases, additional measures might be needed to protect the cover material from erosion, especially in areas with high water flow or on slopes. This can include the use of erosion control blankets, mats, or additional riprap.
Final Inspection: Conduct a thorough inspection of the entire area to ensure the geotextile is fully covered and protected. Pay attention to edges and seams, ensuring they are adequately covered and secured.
Documentation and Reporting: It’s good practice to document the installation process with photos or videos, particularly of the final covered state. This documentation can be valuable for future reference or in case of any issues arising post-installation.
By carefully covering and finalizing the installation of the woven geotextile fabric, you can ensure that it performs its intended function effectively throughout the duration of the project. This final step is key to protecting the investment in the geotextile and ensuring the overall success and longevity of the project.
CONCLUSION
Successfully using woven geotextile fabric hinges on meticulous preparation, precise installation, and careful covering. From site preparation to the final covering, each step plays a pivotal role in harnessing the full potential of this versatile material. By following these guidelines, you can ensure that the woven geotextile fabric effectively fulfills its role in stabilization, filtration, or separation, contributing significantly to the longevity and success of your project. Whether you’re reinforcing a roadway or enhancing a landscaping venture, understanding and applying these steps will lead to a more robust and enduring outcome.